Take your watercolor landscapes to the next level with these easy cloud techniques – easy watercolor clouds for beginners. Clouds need shading and soft edges for a great landscape. Learn sky and cloud basics in this tutorial. You can add the balloons or leave them out.
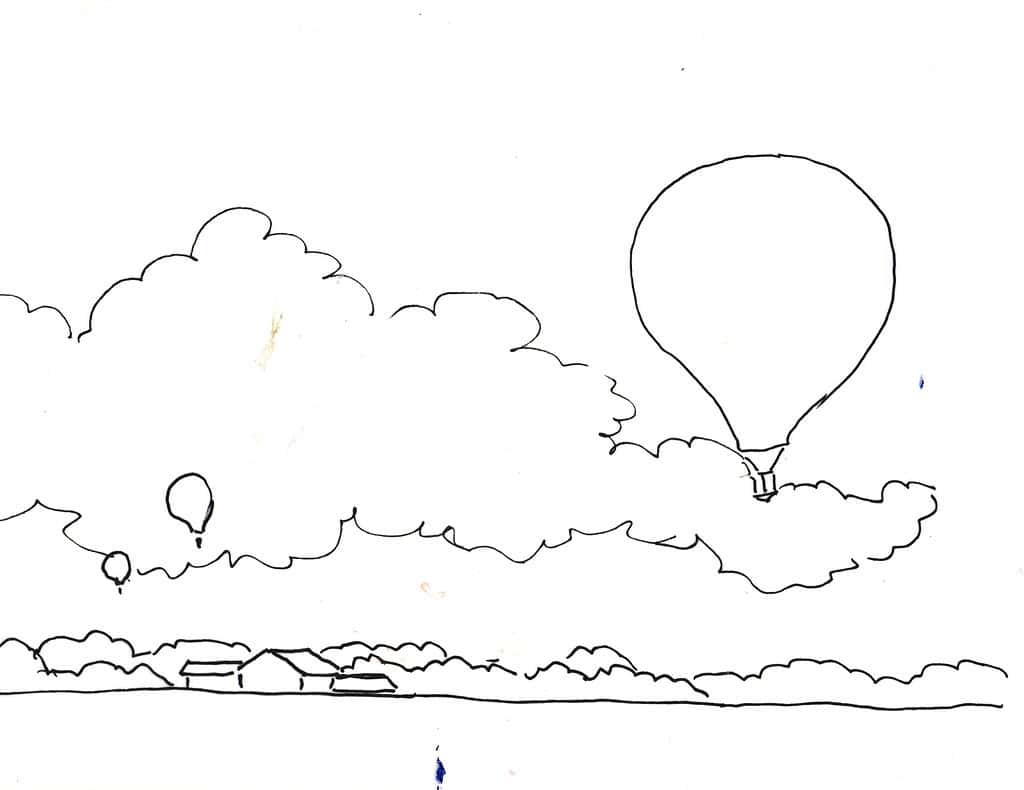
Downloads for Easy Clouds
(If you have trouble downloading the pdf, you can copy and paste the images below)
Step by Step Instructions for Watercolor Landscape with Clouds
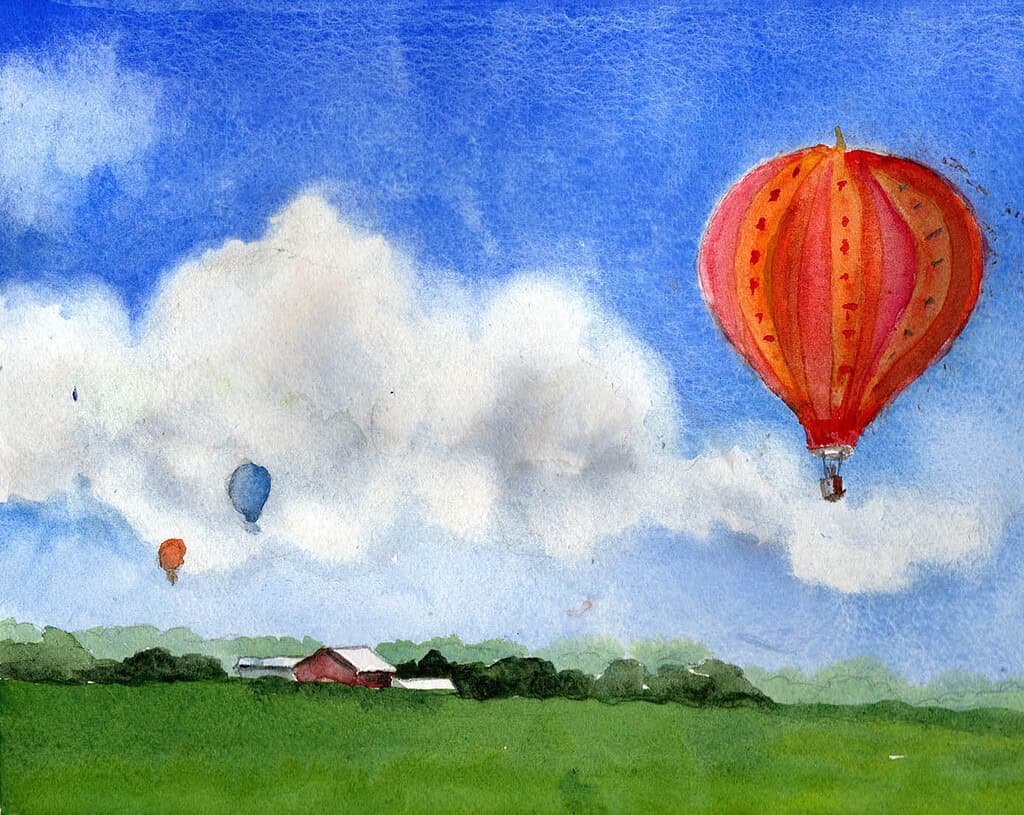
- Skies are darker at the top, going lighter as you move towards the horizon, which is almost white.
- Clouds are largest at the top of the sky and get smaller as they move towards the horizon.
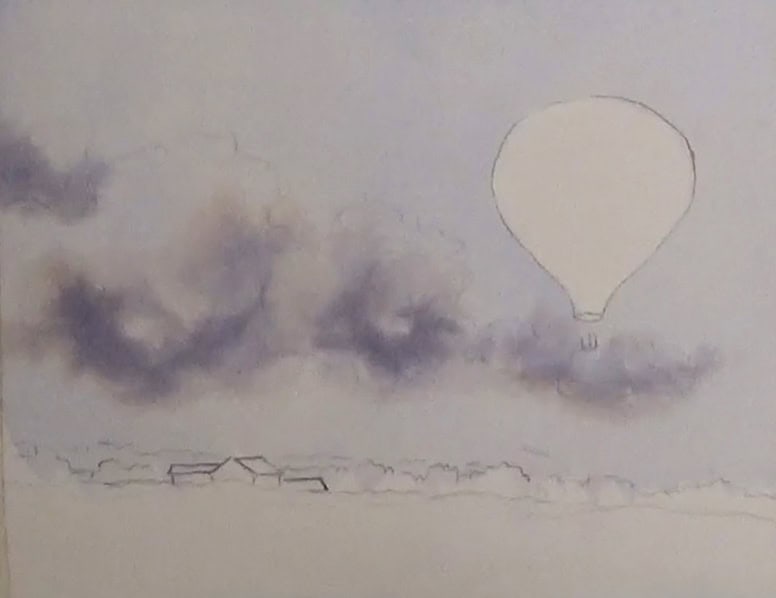
Step 1 – Putting in the cloud shadows wet on wet – get the scary part over first.
- Mix a puddle of blue gray with cobalt or ultramarine blue plus a little brown
- Wet the sky down to the horizon – don’t skimp on this – it needs to be evenly damp.
- Lay some color on in the bottom of the cloud area. You can add more if it is too light but don’t fuss with it – leave it alone.
- Dry well.
Step 2 – Paint the blue part of the sky.
- Wet the top of the sky above the clouds, leaving the part you want white dry.
- Mix a big puddle of your blue. The darker the blue is, the lighter and brighter the clouds will look.
- Paint the blue into the wet paper – try for darker at the top going to lighter at the bottom underneath the clouds. Then Dry Well.

Step 3 – Paint the trees.
- Paint some trees farther away with a light blue green. Dry.
- Paint some trees a dark green, especially close to the barn and at the bottom of the trees.
Step 4 – Paint the field medium green – with more yellow at the bottom and right side.
Step 5 – Paint the barn reddish color – tone down your red with brown or gray or black or green
Step 6 – Soften the cloud edges.
Use a damp toothbrush rubbing in a circular motion to reactivate the paint at the edge of the clouds and dab it up with a paper towel.